How To Use Green Screen On Capcut (Complete Guide 2024)
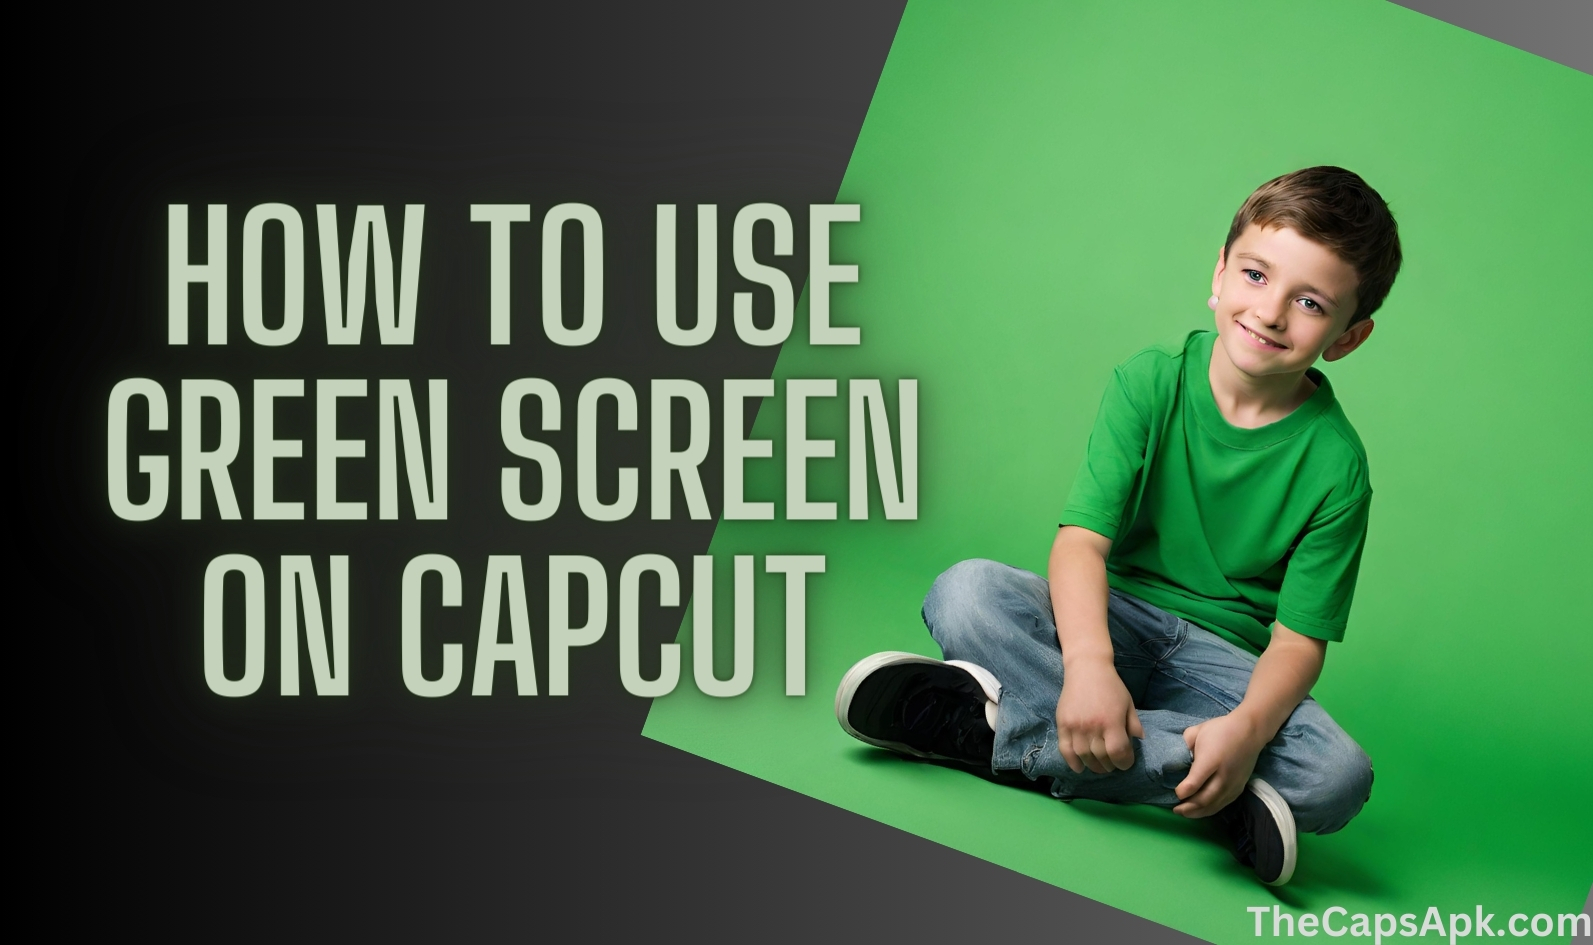
Have you ever seen short videos or reels with meme material in them? Videos with a sort of dynamic and cinematic touch in them. Have you ever wondered how they add these magical effects in their videos with this perfection?
These special effects in the videos are added using a green screen effect which is offered by a lot of video editor tools. But talking about the best among them, there is no other option than “Capcut ”. Capcut offers the best green screen feature to easily customize your video background and allows you to add magical effects to it. It is also known as the “Chroma Key” feature.
Let’s dive into this article and learn “How To Use Green Screen On Capcut” effectively and make your videos more beautiful.
Check our useful article about the Pro version of Capcut APK.
Why Choose Green for the Green Screen?
To learn the process of “How To Use Green Screen On Capcut”, we must understand the main thing that is why the green colour is chosen for this purpose.
In this modern era, most digital cameras are sensitive to green light or colour which is due to the Bayer Filter or colour filter array pattern as it has more green pixels.
The second reason is that the green colour is not commonly found in human skin tone. This makes it easier for the video editors to easily separate the main subject from the background.
Another reason is that the green-coloured clothes are not commonly worn by the people. So this removes the conflict with the subject color and background colors.
Get information about how you can use the blur effect on Capcut to add blur to your videos or images.
How to Use Green Screen On CapCut?
There are two methods by which you can use the green screen in Capcut and remove the green background from your videos. I have explained both of these methods about “How To Use Green Screen On Capcut” and hope this will be very helpful for you. These two methods are explained thoroughly in the following:
Method 1: How to Use Chroma Key for Green Screen in CapCut
To use this method, firstly you must have an image with a green background in your gallery. If you don’t have an image with a green background, you can download the green background from “Pixels or Freepik” and add the green background to your video or picture using the Capcut application.
Now to apply this effect in your videos, follow the steps mentioned below:
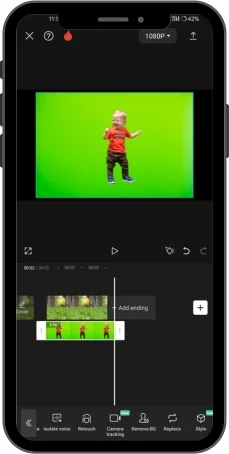
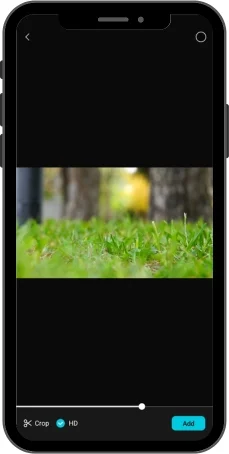
Upload your background video to CapCut
In the first step, you have to add your main background video to the Capcut timeline. You can also add multiple videos to the editing tab. Now tap on “Add”.
Choose the effect for the video
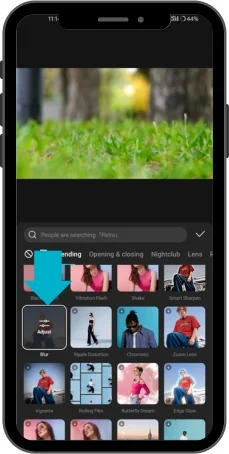
For the best results, you can add video effects to the background video. Prefer adding the “blur effect” so that it can increase the focus on the subject.
Add your green screen video from the overlay option
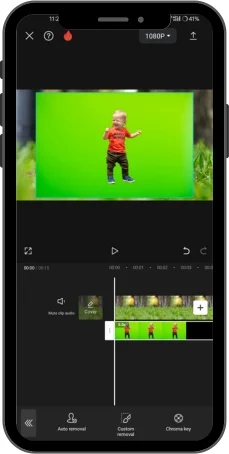
Now you have to add the overlay which is the green screen video to the second timeline. Simply click on the “Overlay” option present at the bottom row.
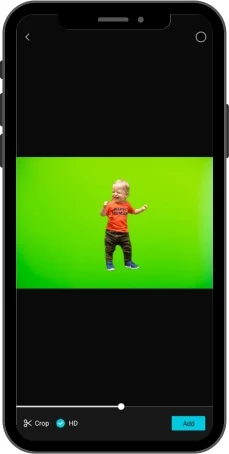
Select the colour which you want to remove
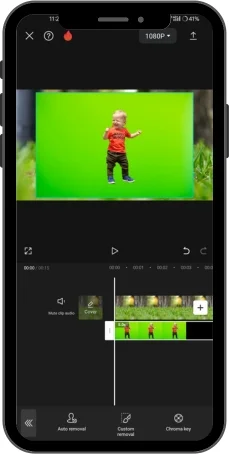
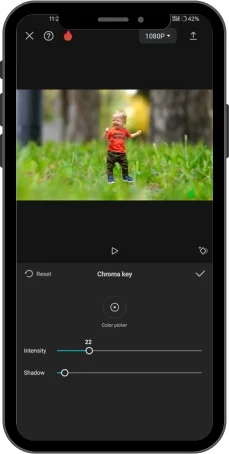
To remove the green screen effect from the video, press on the second timeline. Drag the bottom row until you find the “Remove BG” option. Tap on it and then click on the “Chroma Key” option. Now click on the “colour picker” button and drag it to the green screen area to remove it.
Now remove the selected colour
In the chroma key section tap on the option “Intensity”. A slider will now appear at the button. Drag and adjust the intensity of your overlay video until the selected colour disappears.
In some cases, the lighting of the subject does not match with the lighting in the background. In this case, tap on the shadows option and increase or decrease the shadows according to your needs.
Export and enjoy the video
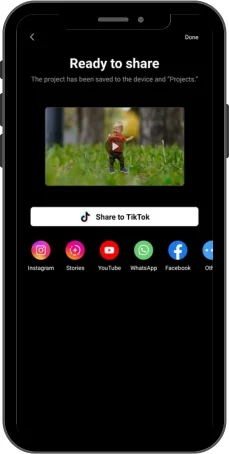
Once you are done adding the green screen overlay in your videos as you wish then simply go to the export option and export your video in your preferred quality.
Check our article about the Ical templates of Capcut to use them in your videos.
Here is the practical demonstration of “How to Use Chroma Key for Green Screen in CapCut”:
Method 2- How to Use Green Screen on CapCut with Background Remover
In case you want to use a way other than the chroma key of Capcut then you don’t have to worry about it because Capcut also offers you a background remover feature to help you with your work. This feature allows you to remove the background of your videos with just a single click. Here’s how it works:
Add Your Background Clip to CapCut
In the Capcut application tap on the new project option and select your background video clips and then tap on “add”.

Choose your green-screen video as an overlay
Now tap on the “overlay” option and then “add overlay”. Then select your green screen video and tap on “add”.

Apply the Remove background effect
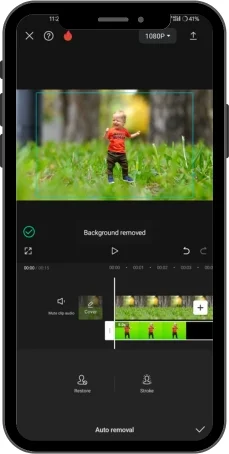
Tap on your green screen video and find the “Remove BG” option from the tools bar in the bottom row. Tap on the “Auto removal”. The green screen background will be automatically removed.
Export Your Video
Once you finish your editing by removing the green screen colour, export and share your video to any platform you like.

You can also use this feature for removing colourful backgrounds from videos other than the green screen colour.
You can also check our article about the healing Thailand templates to use these templates in your videos.
Pros of Using Green Screen In Capcut
Cons of Using Green Screen In Capcut
Final Words (How To Use Green Screen On Capcut)
I hope that you find this article as a solution to your problems and your all queries related to “How To Use Green Screen On Capcut” are cleared after reading this article. You can easily use the “Chroma Key” or the “Remove BG” feature of Capcut to remove unmatched backgrounds from your videos and can add your favourite backgrounds to the videos and pictures.
So what are you waiting for? Go, download the Capcut app in case you don’t have the app on your device, enjoy your editing with it and share your favourite creations with your loved ones!

