How to Use Overlay in Your Videos On Capcut (2024 Guide)
Have you ever wondered how your favourite YouTubers and Tiktokers add those amazing overlays in their videos to make them more engaging and eye-catching for the viewers? If it’s about adding some meaningful text, some beautiful stickers or some audio tracks, the overlay feature can truly increase the visual appeal of your videos. Are you willing to learn the art of overlaying?
Capcut provides one of the best overlay features which you can use easily to add overlays in your videos. The overlay feature of Capcut is the most effective and is very easy to use. We will provide you with a detailed guide on how to use overlay in your videos on Capcut on your PC, iPhone or Android devices.
Let’s dive into this article and learn how to add video, text, stickers and audio overlays to your videos.
Download the premium version of Capcut Pro APK.
Capcuts Advance Overlay Feature: A Brief Overview
An overlay is an exciting feature by which you can add text, stickers, audio tracks, video, or image layers over one another. This helps content creators to give their content an eye-pleasing and attractive look. This feature is commonly and widely used in movies to create animated or cinematic effects.
Capcut provides one of the best overlay features by which you can easily overlay your videos, texts, stickers and soundtracks. You can also use its layering and blending options in your editing to enhance the visual appeal of your video. Capcut also provides you with a wide variety of ready-made overlays. You can use these templates in your videos to give them a professional touch.
Read our informational article on how you can easily remove the watermark from Capcut videos.
What is the difference between the Capcut Green screen and the Capcut Overlaying feature?
The Capcut green screen feature is used to remove green backgrounds from your videos or images. If you have any sort of green colour or effect in your video, you can easily remove it by using the Capcut Green screen or Chroma key feature.
The overlaying feature of Capcut is used to add another layer of images, text, or stickers over one another. In this article, we will provide you with a step-by-step tutorial on how to use overlay in your videos on Capcut
If you are curious to learn about the Capcut Green screen feature, you can discover our article on it.
Read our useful insight on how you can easily crop or adjust the frame of your video on Capcut.
How to do video overlay on the phone
Users can use the overlaying feature of Capcut on Android devices or iPhones easily. To use this feature on your mobile devices, follow the steps mentioned below:
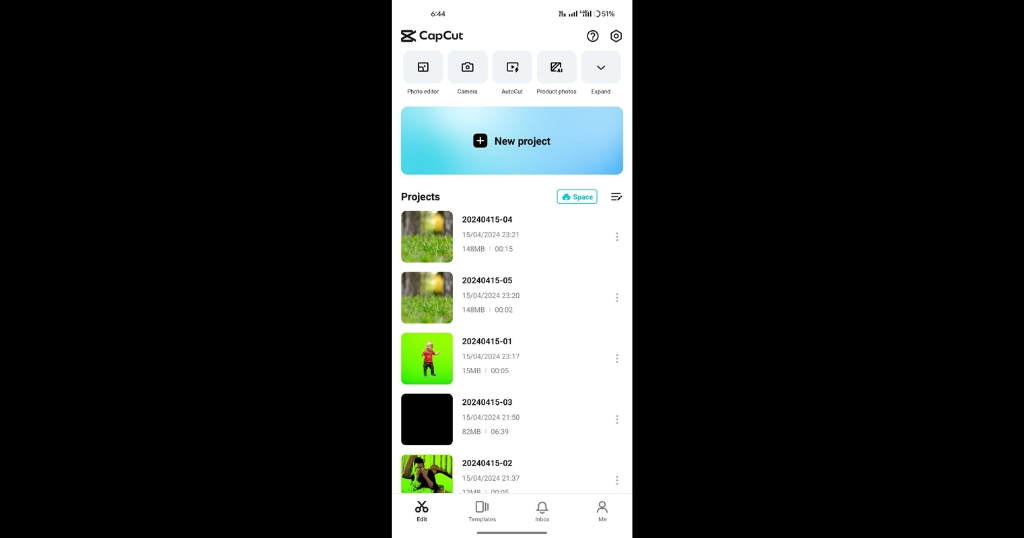
Firstly, open the Capcut app and click on the new project to start the proceedings.
Now choose your main or background video and add it to your timeline. You can adjust the duration of the video and can also add filters and effects to it.
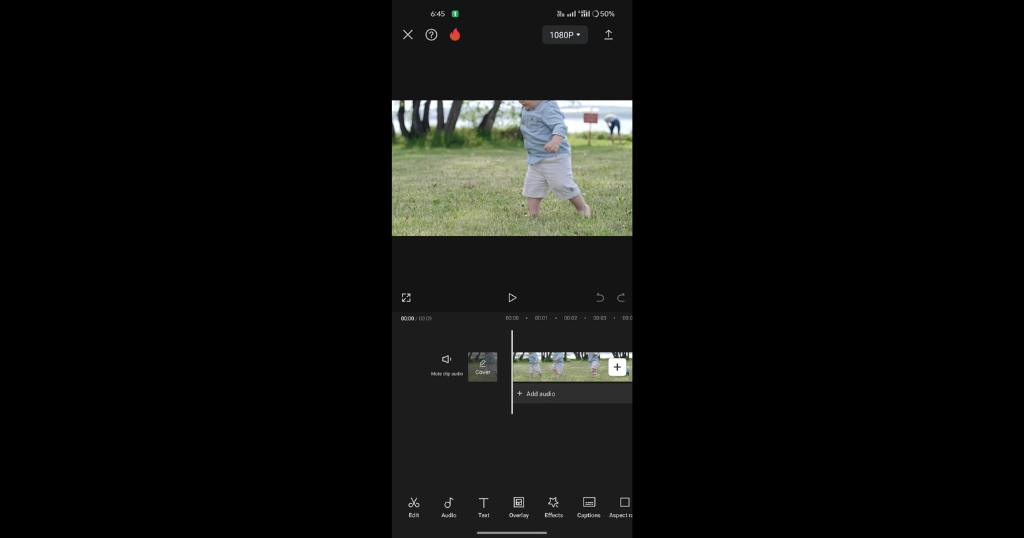
Now click on the overlay option located on the bottom row. Select the video or image you want to use as an overlay. The overlay will be shown above the main video.
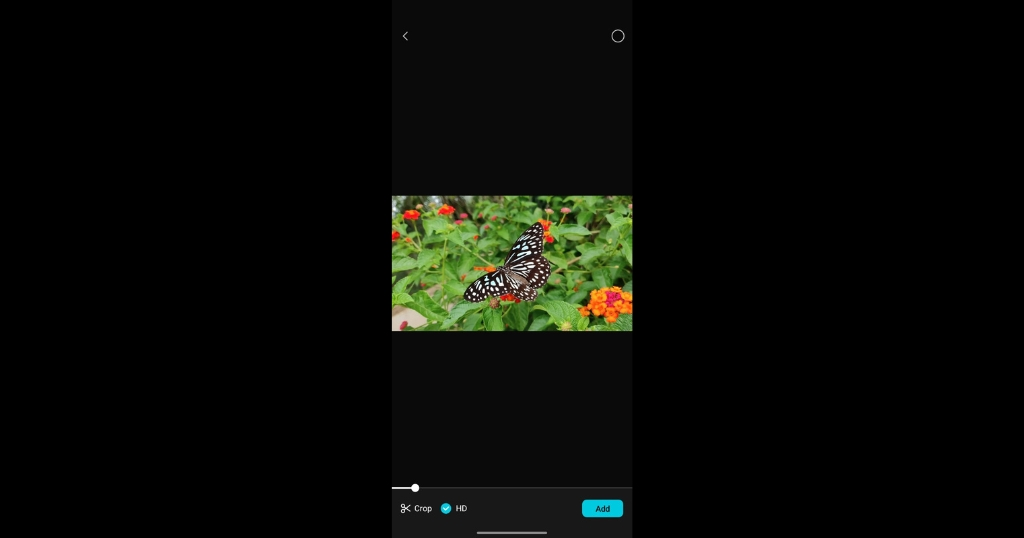
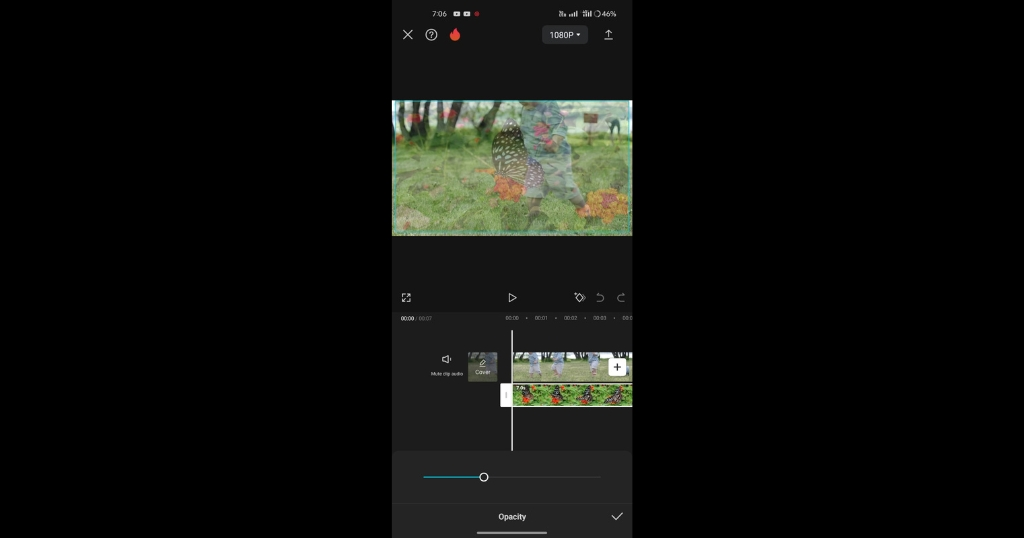
After adding the overlay, you can make adjustments to it by cropping or changing its opacity.
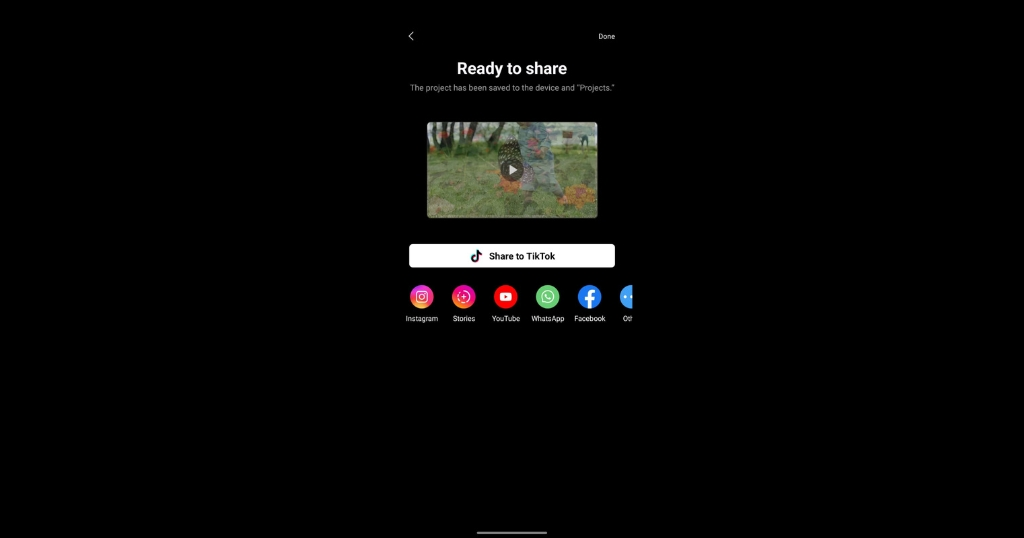
You are done with your editing. Now you can save or export your editing to share it with your friends.
Read our article on how you can use the trending Capcut templates in your videos.
How to do video overlay on a PC
To use a video overlaying feature of Capcut on PC, follow the steps mentioned below:
Launch the Capcut app and click on a new project to start your editing.
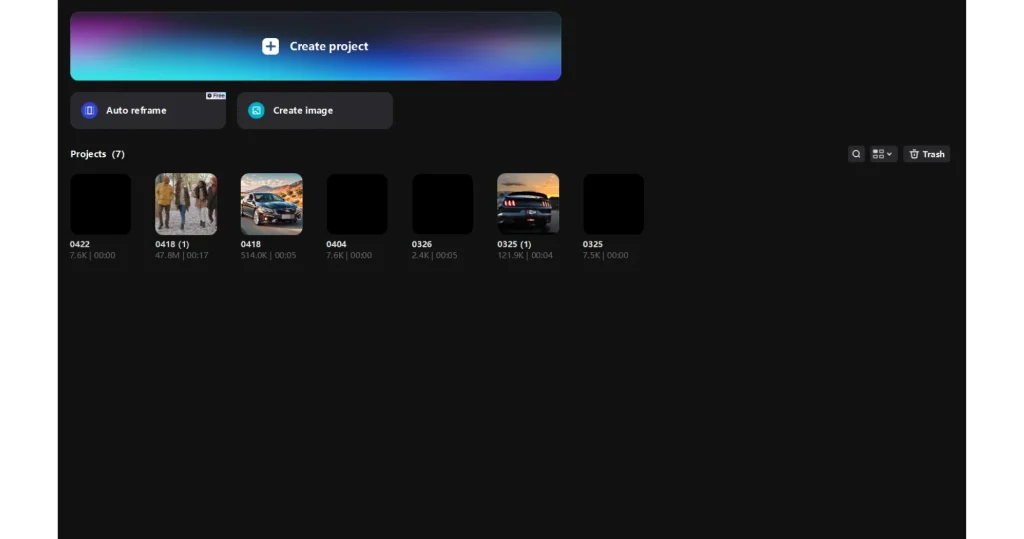
Import your video which will be set as a background and add it to your timeline.
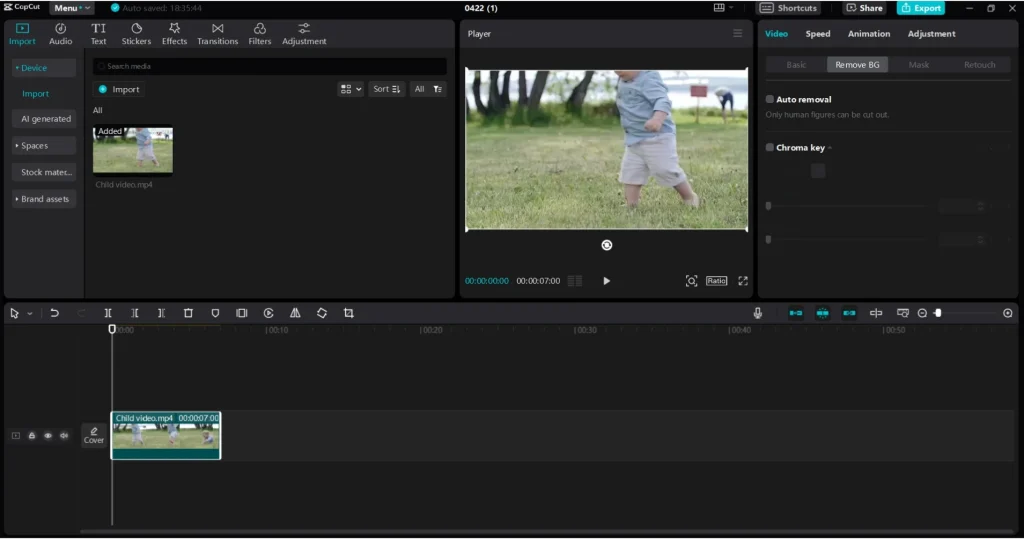
Now select the video which you want to choose as an overlay and drag it over the main timeline.
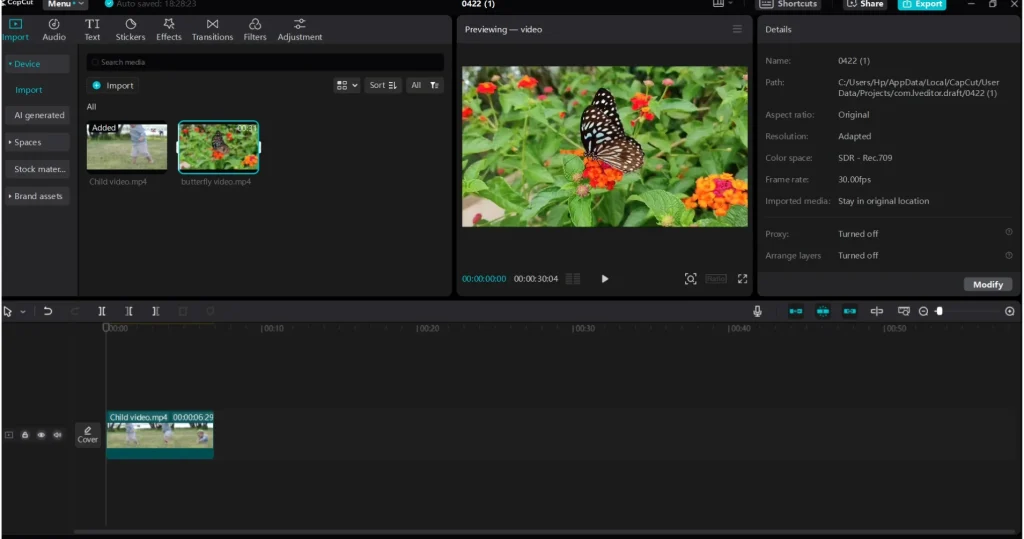
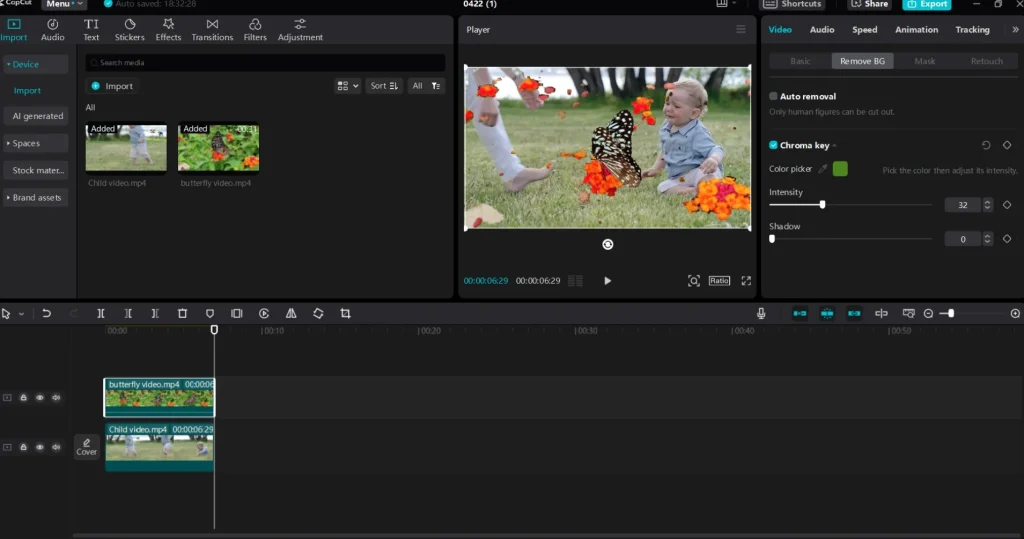
You can make adjustments to the overlaid video by removing its background or adjusting its opacity.
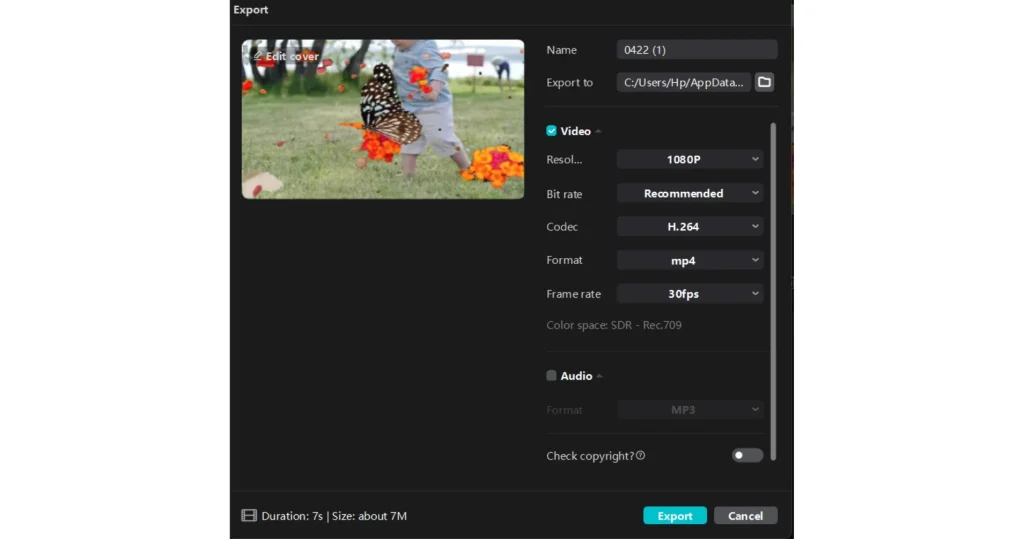
You can save the video or export it to share it with your friends.
How to do a text overlay in Capcut on a PC
To use the text overlaying feature of Capcut on a PC, please follow the steps mentioned below:
Open the Capcut app and click on the new project to start your editing.

Import your video which you want to set in the background and bring it to your timeline.

Now to add text to your video, click on the text icon located on the top left side and choose your desired text.
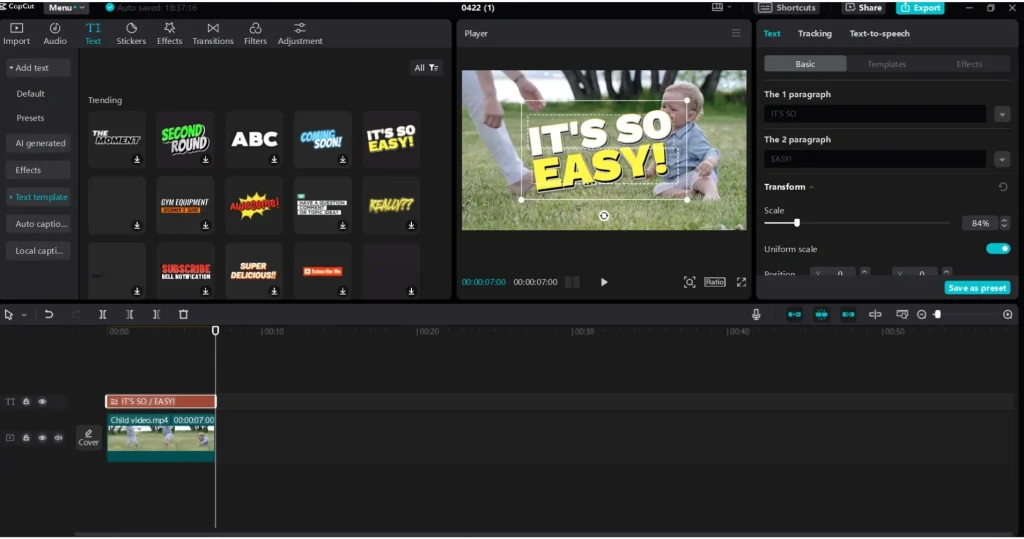
After selecting the text which you want to add to your video, you can trim it and adjust its location over the video.

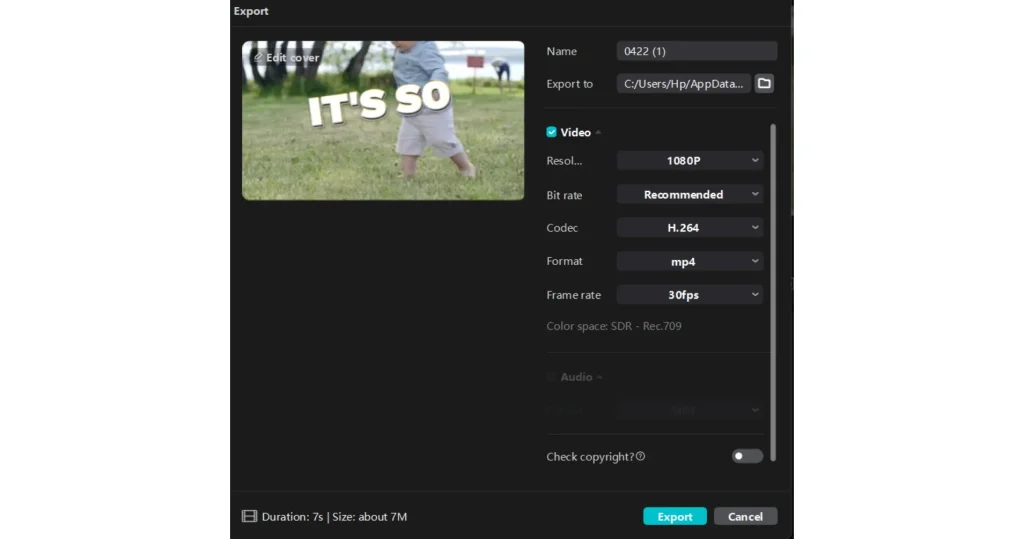
After you are done with your editing, you can save and export your video with your friends.
How to do a sticker overlay in Capcut on a PC
To add a sticker overlay using Capcut on your PC, please follow the steps mentioned below:
Open the Capcut app and click on the new project to start the proceedings.

Choose the video to which you want to add the sticker overlay and add it to your timeline.

Now to add stickers to your video, click on the stickers icon and choose your favourite sticker which suits your video.
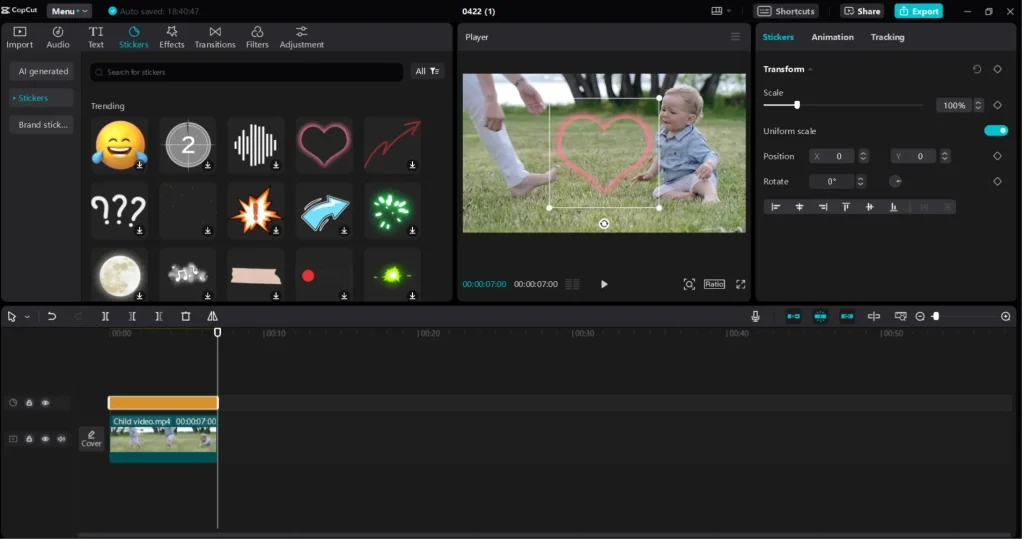
You can change the location of the sticker and can change its opacity.
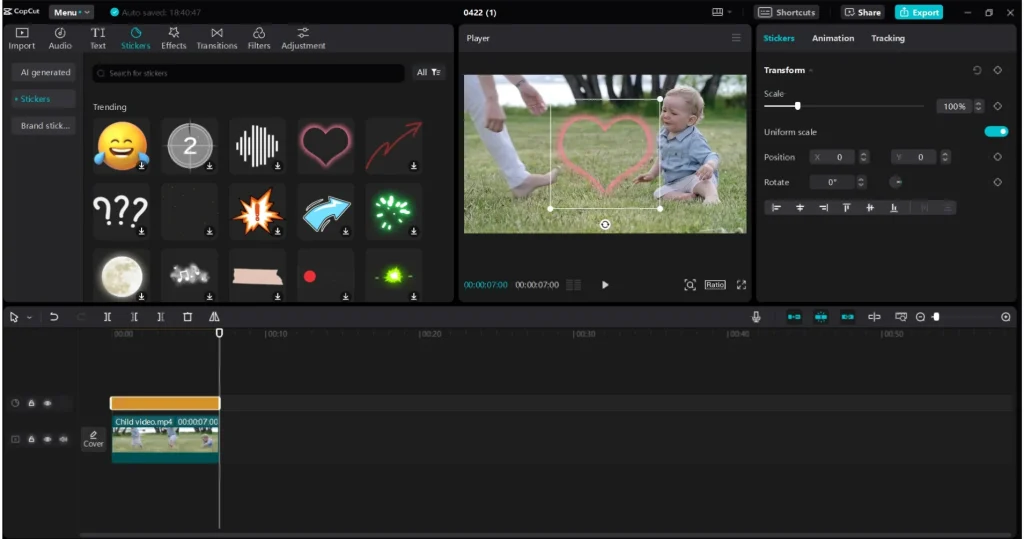
Once you are done with your editing, you can save your editing and can also export it to your loved ones.
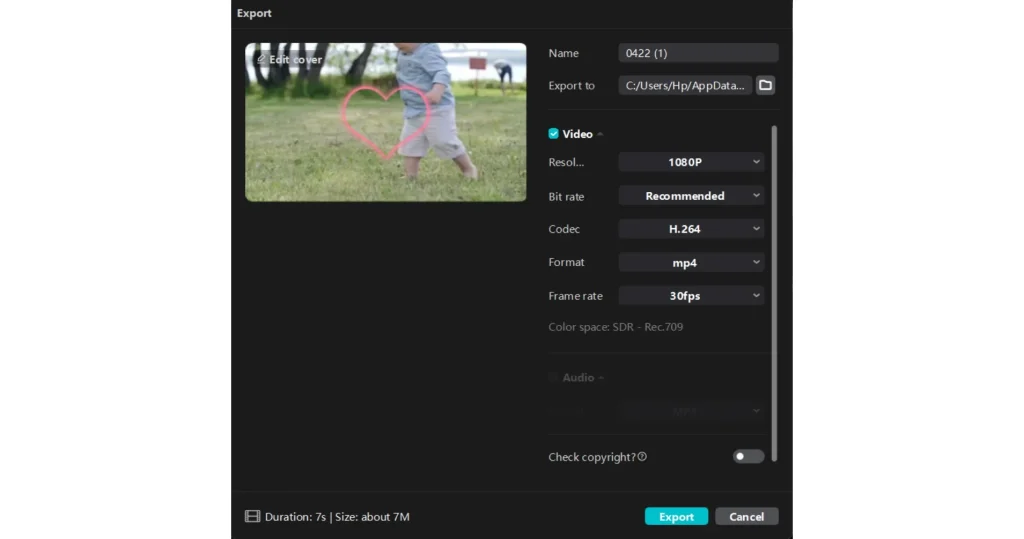
How to do an audio overlay in Capcut on a PC
The newer versions of Capcut also provide you with a facility to add an audio overlay to your video. To add an audio overlay to your video in Capcut, please follow the steps mentioned below:
Launch the Capcut app and click on the new project to start your editing.

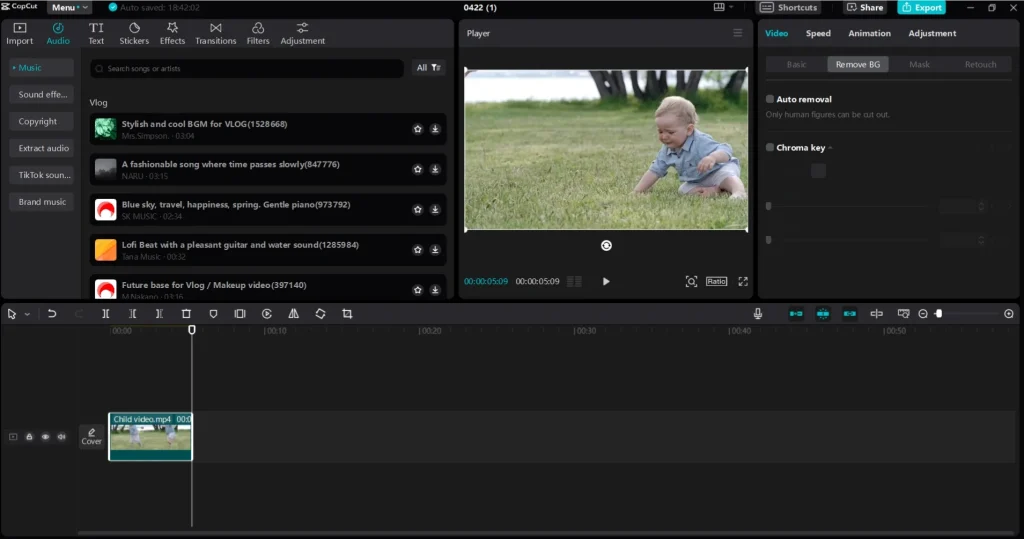
Select the video to which you want to add audio overlay and add it to your timeline.

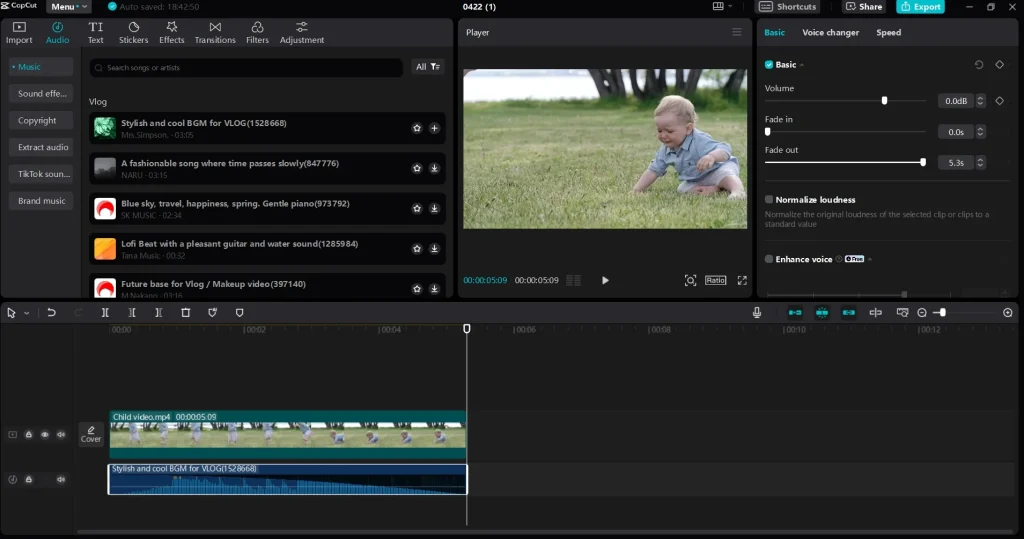
Now click on the audio icon located on the top left row and choose your desired audio sound.
You can change the duration of the audio.
Congratulations, you are done with your editing. You can now save it and export it to your friends on social media platforms.
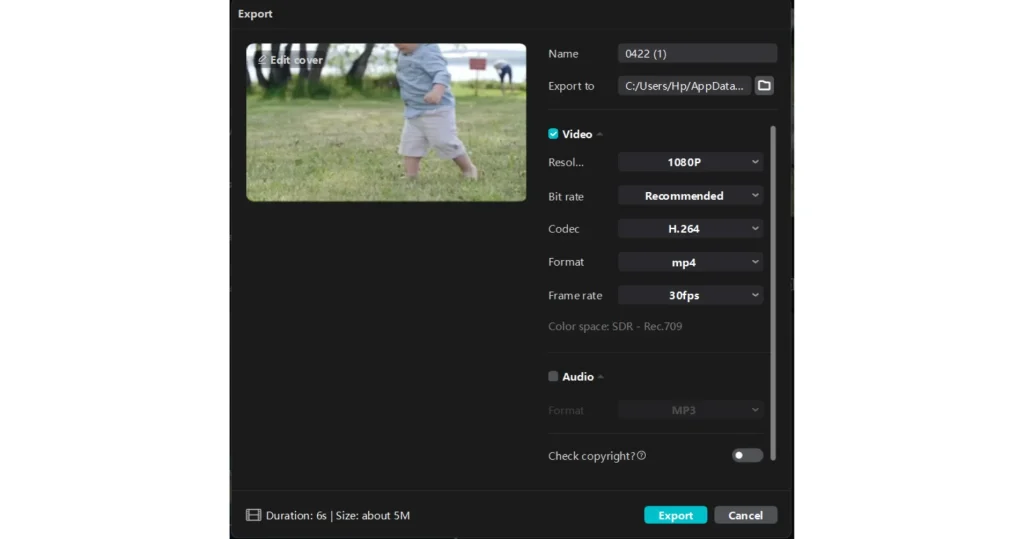
How to adjust the opacity of overlay in Capcut
I have discussed adjusting the opacity of your video earlier in this article. Most of you were thinking about what is opacity and how to adjust it. I have mentioned the steps below about how you can adjust the opacity of the overlay in Capcut.
Firstly, open the Capcut app and click on the new project to start the proceedings.
Now choose the background video and add it to your timeline.
Choose the overlay element which you want to add over your main background video.
A small box is located on the right side which you can use to make adjustments to your editings. In that box click on the video icon. Under the “video” settings, click on the “basic” icon. In the basic menu, scroll a bit down until you find a “blend” option. Click on the blend option and there you can find the “opacity” adjustment option from where you can change the opacity of your element.
Once you are done with your editing, save your editing and can export it on various social media platforms.
Conclusion ( how to use overlay in your videos on Capcut )
Overlay is a fantastic editing feature which has helped many editors to produce eye-catching effects in their videos. By using this feature you can add video, image, text, stickers and audio overlays over one another. Capcut provides one of the finest and effective overlay features which is very easy to operate. I hope after reading this article you have learned about how to use overlay in your videos on Capcut effectively.
If you haven’t used this exciting feature then try it now and enjoy positive outcomes from it.

